Think of real estate photo editing software as the digital equivalent of a home stager. It's the essential toolkit photographers and agents use to take a raw photo of a property and turn it into a captivating, market-ready image that grabs a buyer's attention. This is far more than just applying a quick filter; it's a critical business asset that can fix flaws, highlight a home's best features, and ultimately shape how fast a listing sells.
Why Pro Photo Editing Is Non-Negotiable
Imagine walking a potential buyer into an open house with dim lighting and cluttered corners. They might see the basic layout, but they won't feel the home's true potential. An unedited photo does the exact same thing online.
On the other hand, a professionally edited photo is like a perfectly staged home. It’s bright, welcoming, and shows off every room in its absolute best light. This isn't just about making things look pretty—it's a strategic move designed to forge an emotional connection with someone scrolling through listings.
The Impact on Your Bottom Line
In today’s crowded online marketplace, your property’s first impression is its only impression. High-quality images have gone from being a nice-to-have to a fundamental requirement for getting noticed.
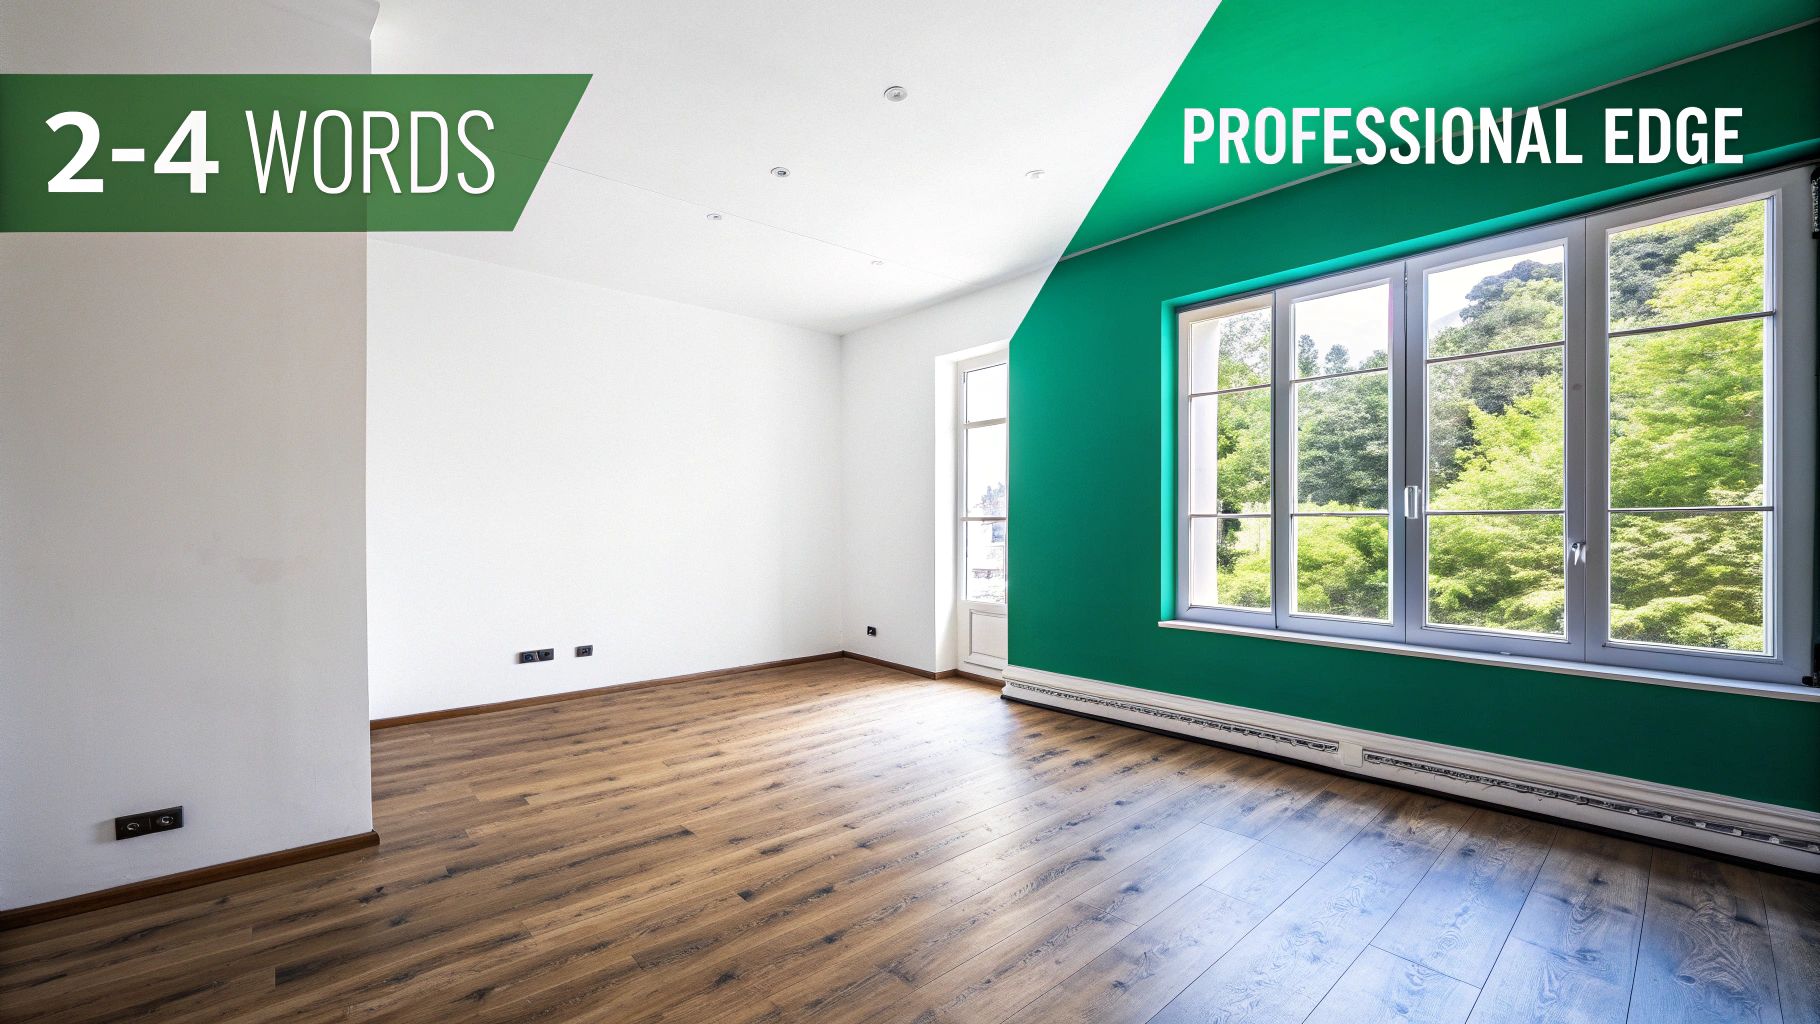
The data backs this up. Professionally edited photos are true game-changers. Studies have shown that listings with top-notch images get a staggering 118% more online views and can sell up to 50% faster. You can dig deeper into the real estate photography trends and see just how much they influence sales.
That one statistic tells a powerful story: investing in the right real estate photo editing software is a direct investment in your listing's performance and your bottom line.
An expertly edited photo does more than just display a property; it sells a vision. It removes distractions, balances light, and presents a clean, aspirational space that allows buyers to imagine themselves living there.
What Professional Software Achieves
Getting good with this software is less about becoming a tech wizard and more about smart business strategy. It’s how you deliver consistent, high-quality results that build trust with your clients and pull in serious buyers.
Here’s what you stand to gain:
- Consistency Across Galleries: Every photo in a listing, from the kitchen to the backyard, will have the same professional look and feel—no weird shifts in color or brightness.
- Correction of Imperfections: You can easily fix common issues that cameras capture, like distorted lines, shadowy corners, or a distracting reflection in a window.
- Enhanced Visual Appeal: Make colors pop, straighten vertical lines to emphasize a room's height, and create those thumb-stopping images that make people pause and click.
When all is said and done, using the right tools elevates your brand, helps close deals faster, and can even have a real impact on the final offer price.
Mastering the Essential Editing Features
Alright, let's move past the theory and get into the nuts and bolts—the specific tools inside your editing software that do all the heavy lifting. Don't think of these as complicated functions. Instead, picture them as a team of specialists, each with a specific job to do to create the final, polished image. Getting to know what each one does is the secret to turning decent photos into marketing gold.
These tools were built to solve the real-world problems photographers run into every single day. From wrestling with the physics of light to saving you from hours of mind-numbing repetition, each feature is a crucial part of building a professional gallery.
Blending Light and Shadow with HDR
Ever tried to take a picture of a room with a big, bright window? Your camera has a tough time. Either the room looks great and the window is a completely blown-out white rectangle, or you can see the beautiful view outside, but the room itself turns into a dark cave. This is exactly what High Dynamic Range (HDR) blending was designed to fix.
Real, professional HDR isn't about that over-the-top, grungy look you sometimes see. It's a practical tool for solving a common problem.
- The Process: You start by taking multiple shots of the same scene at different exposure settings—one dark, one just right, and one bright. This technique is called "bracketing."
- The Magic: This is where the software shines. It intelligently stacks these images and cherry-picks the best-exposed parts from each one. It pulls the details from the shadows in your bright shot, the balanced tones from your middle shot, and the rich colors of the sky from your dark shot.
- The Result: You get a single, beautifully balanced photo where a buyer can see the texture of the hardwood floors and the sunny backyard all at once. It’s the closest you can get to showing what the human eye actually sees.
Achieving Consistency with Batch Processing
Picture this: you have a gallery of 40 photos from one property. You bump the brightness on the first one, adjust the color on the second, and straighten the lines on the third. Doing that 40 times isn't just tedious—it’s a surefire way to end up with an inconsistent, amateurish-looking gallery.
Batch processing is your best friend here. It lets you apply the same set of edits to a whole group of photos at the same time. You can grab all your interior shots, for example, and apply the exact same white balance and lens correction, making the entire home look uniform. This feature alone can easily cut your editing time by over 80%. We're talking about turning hours of clicking into a few minutes of work.
A consistent photo gallery builds trust. When colors and lighting remain stable from one image to the next, it creates a seamless and professional viewing experience, allowing buyers to focus on the property itself, not distracting edits.
Perfecting the View with Sky Replacement
Let’s be honest, a gray, dreary sky can make a million-dollar home look depressing. First impressions are everything, and that main exterior shot is usually the first thing a potential buyer will see.
This is where sky replacement tools are worth their weight in gold. Modern editing software uses some pretty smart AI to handle this:
- Analyze the Image: The software scans the photo and intelligently identifies the sky, even around tricky outlines like tree branches and rooflines.
- Swap the Sky: With just a click, you can replace that dull sky with a perfect blue one, complete with a few fluffy clouds.
- Adjust the Lighting: Here’s the critical part. The AI then automatically relights the entire scene, adjusting the colors and shadows on the house and yard to match the new, sunny sky. This makes the final image look completely natural, not like a cheap cutout.
Correcting Foundational Flaws
Beyond the big, splashy edits, a pro-level software suite gives you the tools to fix the fundamental issues that cameras always introduce. Color correction is essential for making sure the paint on the walls looks true-to-life, not tinted yellow from the indoor lights. Lens distortion correction is another must-have; it fixes that subtle bowing effect from wide-angle lenses, ensuring that walls, doorways, and windows are perfectly straight.
If you're curious about how your gear plays into all this, you can check out our guide on the best cameras for real estate photography.
The Professional Photographer's Editing Workflow
Having the right software is just the start. What truly separates a pro from an amateur is a repeatable, efficient editing workflow. Think of it as your recipe for success—a structured process that guarantees every image in a gallery looks consistent, professional, and stunning. It saves you a ton of time and is the secret to delivering top-notch results, every single shoot.
The path from a raw file on your camera to a market-ready listing photo isn’t random. It’s a methodical journey that starts with big-picture organization and gradually drills down into the tiny details that make a photo pop.
Stage 1: Culling and Organizing
Before you even think about adjusting brightness or color, the first job is to pick the winners. A photographer might easily snap over a hundred photos at a property, but only the best 25-40 will make it into the final gallery. This crucial first step is called culling—a rapid-fire review where you flag only the sharpest, most compelling compositions.
Once you’ve got your "keepers," it's time to import them into a cataloging tool like Adobe Lightroom. This is where you bring order to the chaos. I always group my photos by room (e.g., Kitchen, Master Bedroom, Exterior), which makes the next steps, especially batch editing, so much smoother.
The infographic below breaks down the core editing steps you'll apply to each of these chosen images.
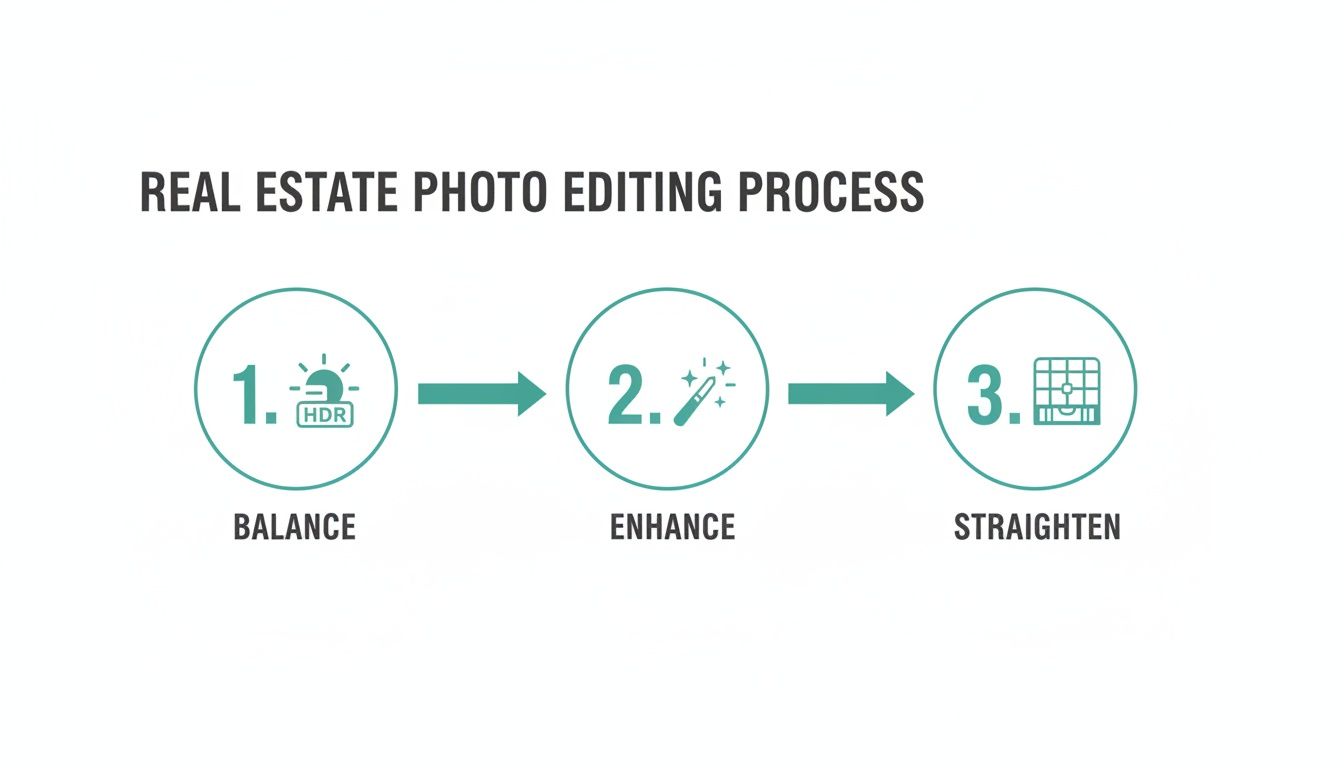
As you can see, the process flows logically from foundational fixes to creative tweaks and, finally, structural perfection.
Stage 2: Global Adjustments
With everything organized, the real editing begins. We start with "global" adjustments, which are edits that affect the entire photograph. The goal here is to get the fundamentals right before we start nitpicking the details. Pros always do this non-destructively, meaning the original camera data is never altered, giving you the freedom to go back and change things later.
Here’s what happens in this stage:
- Lens Corrections: The first click is usually to apply a lens profile. This instantly fixes the distortion and corner darkening (vignetting) that wide-angle lenses naturally produce.
- White Balance: Next, I tackle the color. Getting the white balance right ensures that the whites in the image are truly white and all the other colors look natural and true to life.
- Exposure and Contrast: This is where you adjust the overall brightness and tonal range, making sure the image is well-lit and inviting without looking washed out or too dark.
These first few steps are perfect for batch processing. For example, if you took ten photos in the kitchen under the same lights, you can apply the exact same white balance correction to all of them with one command. Huge time-saver.
A non-destructive workflow is a photographer's safety net. It allows for endless revisions and adjustments without ever degrading the quality of the original image, providing maximum flexibility for client requests.
Stage 3: Local Adjustments and Final Polish
Once the foundation is solid, it's time to zoom in and focus on specific areas. This is where the artistry comes in, guiding the viewer's eye and making the key features of the home shine.
These "local" adjustments are all about precision. You might use a brush tool to brighten a dark corner, use a mask to tone down the glare on a stainless steel fridge, or add a little extra color to the green lawn visible through a window.
The very last touches are about perfection. I’ll meticulously straighten all the vertical lines so walls and doorframes are perfectly upright. Then, I’ll scan the image for small distractions—a stray power cord or a scuff on the baseboard—and remove them. Mastering these finishing moves is a huge part of the journey if you want to learn how to become a real estate photographer who agents trust for consistently brilliant work.
How to Choose the Right Editing Software for Your Needs
Picking the right photo editing software can feel a little overwhelming. You're faced with a wall of features, weird pricing plans, and a ton of technical jargon. But here’s the secret: there is no single "best" program for everyone. The goal is to find the one that slots perfectly into your workflow, matches your skill level, and helps you hit your business goals.
Ultimately, the choice you make will directly shape how efficient you are, the final quality of your images, and even how easily you can grow your business.
So, where do you start? The first step is to get honest about what you actually need. Are you a photographer who loves having fine-tuned control over every last pixel? Or are you a real estate agent who just needs professional-looking photos, fast, without getting bogged down in a complex program? Knowing this will point you in the right direction.
Desktop Powerhouses vs. Cloud-Based Automation
When you start looking around, you'll see the software world is mostly split into two camps. On one side, you have the traditional desktop apps—the tried-and-true workhorses that photographers have relied on for years. On the other, you've got newer cloud-based platforms that are all about speed and automation, often using AI to do the heavy lifting.
Desktop Software (e.g., Lightroom, Photoshop, Capture One): These are the tools for maximum control. They're built for pros who need to manage huge photo libraries, nail complex edits like flawless HDR blending, and keep their original files safe with a non-destructive workflow.
Cloud & AI Platforms: These tools are built for pure efficiency. They automate things like sky replacements, color fixes, and even virtual staging, giving you consistent results without much manual work. This makes them a fantastic choice for busy agents or high-volume photographers who need to turn around properties quickly.
For most pros, the foundation is still built on the classics. Desktop-based real estate photo editing software is the backbone of the industry, with Adobe Lightroom Classic acting as the command center for over 90% of photographers managing their libraries offline. You can find more detail on the top real estate photo editing tools used by professionals.
Critical Factors for Your Decision
Once you’ve decided between a desktop giant and a speedy cloud tool, a few other key things should guide your choice. Think of these as the must-haves on your checklist before you commit.
Speed and Performance: How quickly can the software import your photos, show you previews, and export the finished images? If you’re processing hundreds of photos from a single shoot, slow software becomes a massive bottleneck that costs you both time and money.
RAW File Support: This one is non-negotiable for professionals. You shoot in RAW to capture as much detail as possible. Make absolutely sure any software you're considering fully supports the RAW files from your specific camera model. Without it, you’re sacrificing quality from the start.
Integrations and Plugins: Does the software play well with others? A program like Lightroom has a massive ecosystem of plugins that can handle HDR blending, noise reduction, and a dozen other tasks, letting you build a powerful, customized workflow that does exactly what you need it to.
Your software shouldn't just be a tool; it should be a partner in your workflow. The best real estate photo editing software integrates seamlessly with your process, automates repetitive tasks, and frees you up to focus on creative decisions and client relationships.
Understanding Pricing Models
Finally, let’s talk money. How you pay for your software can have a big impact on your budget over the long haul. Most options fall into a couple of main categories, each with its own set of trade-offs.
Here’s a quick breakdown to help you see what might work best for your business.
Software Pricing Model Comparison
| Pricing Model | Best For | Pros | Cons |
|---|---|---|---|
| Subscription (SaaS) | Professionals who need the latest updates and cloud features. | Always up-to-date with the newest tools; predictable monthly/annual cost; often includes cloud storage and support. | The cost adds up over time; you never truly "own" the software; payments are perpetual. |
| Perpetual License | Photographers and agents who prefer a one-and-done purchase and are okay with not having the absolute latest version. | Lower long-term cost; you own the version you buy forever; no recurring fees. | High upfront cost; major version upgrades often require a new purchase; can become outdated. |
Choosing between a subscription and a one-time purchase really comes down to your cash flow and how important it is for you to have the latest and greatest features. A subscription is a predictable operating expense, while a perpetual license is a capital investment. There's no wrong answer—just the one that fits your financial plan.
Common Editing Mistakes That Hurt Your Listings
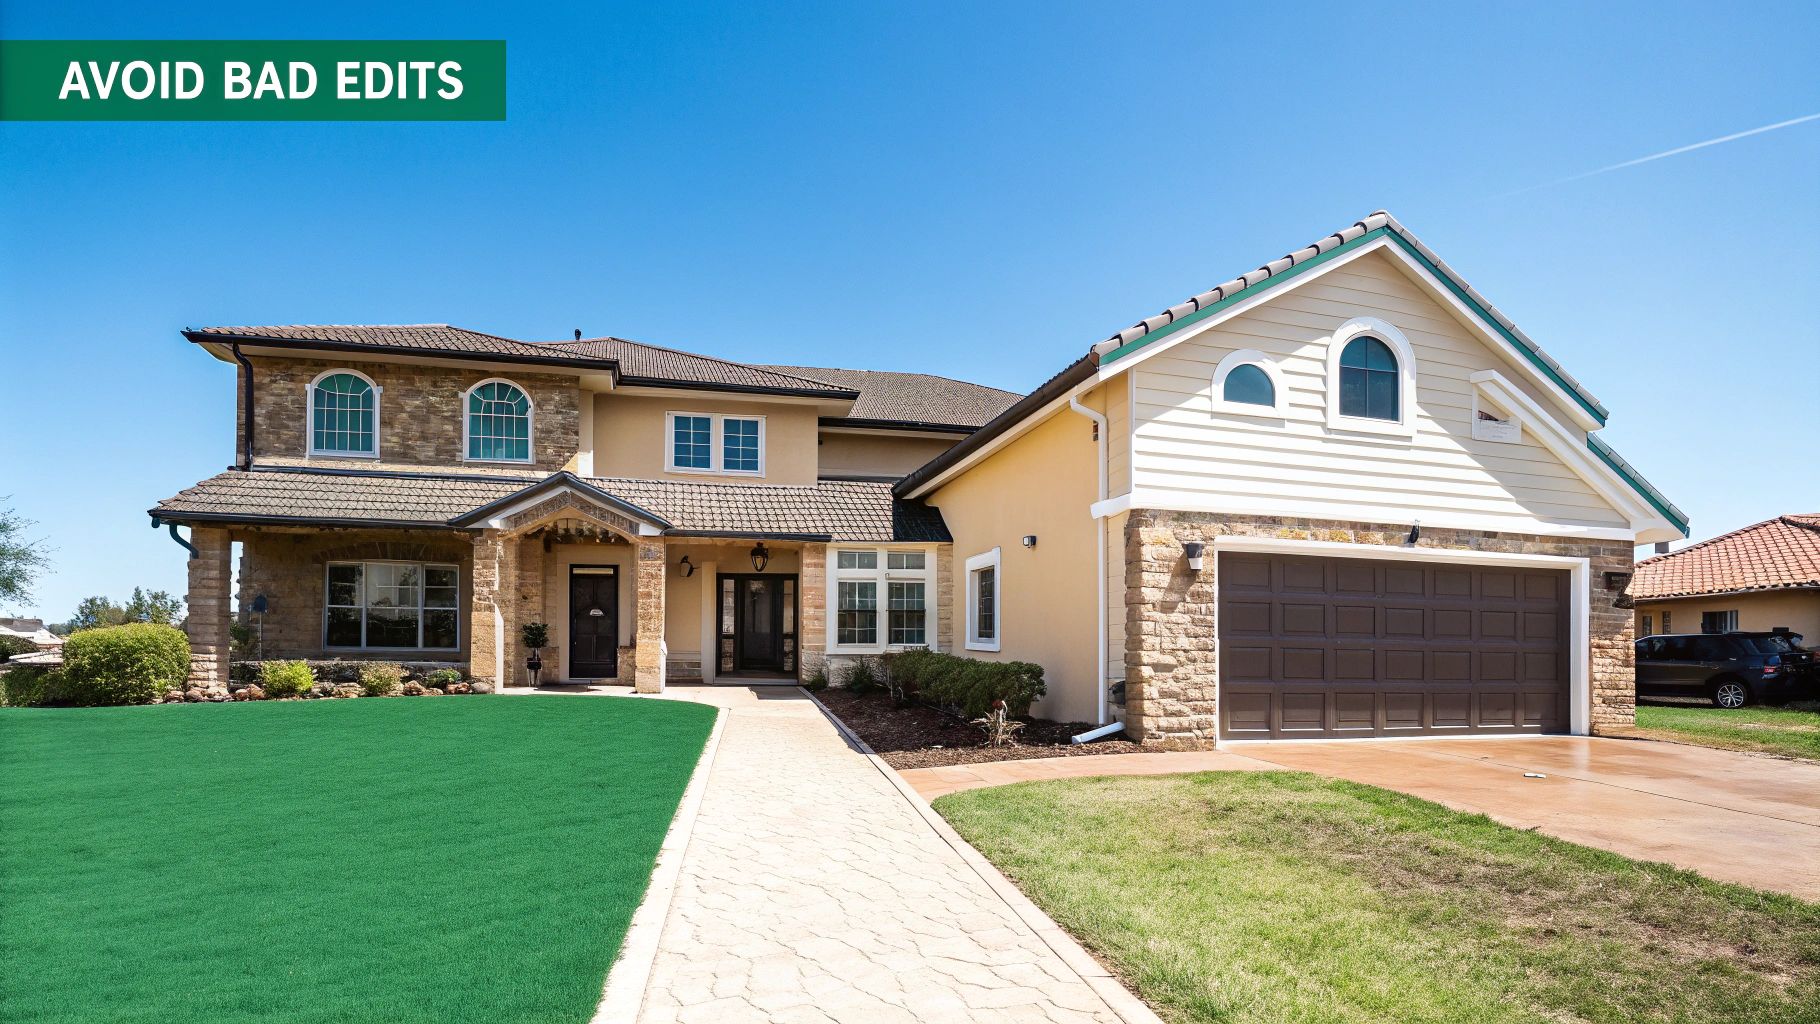
Editing software puts incredible power at your fingertips, but it's a double-edged sword. It’s easy to get carried away. A bad edit can actually do more harm than an unedited photo because it feels dishonest and breaks trust.
The second a potential buyer thinks a photo looks fake, they start to question everything else about the listing. The trick is to walk the fine line between enhancement and exaggeration. You want to show the property in its best light, not a completely artificial one. Knowing the common mistakes helps you avoid them and keep your images credible.
Over-Saturating Colors
One of the most common blunders is cranking the color saturation way too high. You see this all the time on exterior shots—the grass becomes a radioactive neon green, and the sky turns a shade of blue that just doesn't exist in nature. The goal might be to make it "pop," but it just ends up looking cheap and fake.
Key Takeaway: Authenticity is everything. A believable photo feels real. Instead of pushing one global saturation slider, make small, targeted adjustments. Your aim should be a rich, true-to-life look that mirrors what someone would see in person, not a cartoon.
Creating Unrealistic HDR Effects
High Dynamic Range (HDR) is a lifesaver for balancing bright windows with shadowy corners. But when it's overdone, it produces a flat, grungy image with weird glows around objects and zero natural shadows. This over-the-top HDR effect screams amateur and can make a gorgeous home look bizarre.
Good HDR work should be completely unnoticeable. It's supposed to help the camera see a scene the way our eyes do, not create a fantasy world. A well-edited HDR shot will still have depth, contrast, and realistic shadows. Getting the lighting right from the start is half the battle; our guide on mastering interior lighting can help you nail that part of the process.
Distorting Perspectives
You need a wide-angle lens to fit a whole room into the frame, but these lenses can make walls look like they’re caving in or bowing out. If you don't fix this in post-production, it's a dead giveaway of sloppy work. Warped lines make a space feel weird and unsettling.
- The Mistake: Leaving vertical lines like doorframes or wall corners leaning instead of standing perfectly straight.
- The Fix: Use the lens correction and transform tools in your editing software to make sure all vertical lines are actually vertical. It’s a simple tweak that makes a world of difference, making the room feel grounded and professional.
Avoiding these pitfalls all comes down to one principle: aim for realism. Your job is to enhance the truth, not create a new one. This builds trust with agents and buyers alike, cementing your reputation as a pro.
A Few Common Questions About Editing Software
As you dive into the world of real estate photo editing, you're bound to have questions. It's a field with its own specific tools and techniques, whether you're a photographer trying to perfect your process or an agent wanting to elevate your listings. Let's tackle some of the most common questions we hear.
Think of this as a quick-start guide to clear up confusion. It's here to reinforce the important stuff and help you feel confident about the software you choose to market your properties.
Can't I Just Use a Free App on My Phone?
For a quick Instagram story, sure. But for professional real estate marketing? Free apps just don't have the muscle. They fall short when you need to produce the kind of high-quality, trustworthy images that actually sell homes.
Professional-grade software, like Adobe Lightroom, is designed from the ground up to solve the unique problems we face in property photography.
- RAW File Processing: Pro software lets you work with RAW files, which contain all the original image data. This gives you far more control over the final look and quality.
- Advanced Lens Correction: It includes specific tools to fix the inevitable distortion and leaning walls that come from using wide-angle lenses, making rooms look natural and true-to-life.
- Batch Editing: This is the big one. You can apply the same set of adjustments to an entire gallery of 25-40 images at once, ensuring a consistent, professional look from the first photo to the last.
These aren't just bells and whistles; they're fundamental for creating the polished, high-impact photos that today's market expects.
What's the Real Difference Between Lightroom and Photoshop?
This question comes up all the time. Here’s a simple way to think about it: Lightroom is your entire photo lab, and Photoshop is your surgical suite.
Honestly, you’ll spend 90% of your time in Lightroom. It’s where the heavy lifting happens. You'll import entire shoots, pick out the best shots, make global adjustments to things like exposure and color, and apply your signature look across the whole set with presets.
Then, for those few images that need extra attention, you pop them over to Photoshop. This is for the intricate, pixel-perfect work—like removing a distracting trash can from a front yard or painstakingly blending different lighting layers to create one flawless interior shot. They’re designed to work together.
The professional workflow isn't about choosing Lightroom or Photoshop. It's about using both for what they do best. Lightroom handles the volume; Photoshop handles the fine details.
How Can Software Actually Help Me Deliver Photos Faster?
In real estate, speed is everything. A faster turnaround time is a serious competitive advantage, and the right software is your secret weapon for getting it done.
This is where features like batch processing and custom presets truly shine. Imagine applying your go-to corrections—for white balance, lens distortion, and color toning—to an entire property's worth of images with just a couple of clicks. That alone can slash your editing time from hours down to minutes.
On top of that, many modern programs now have AI tools that automate tasks that used to be a real time-sink. Things like swapping out a gloomy sky for a perfect blue one or instantly straightening vertical lines are now often a one-click job. This efficiency means you can confidently promise quicker delivery to your clients, which helps you win more listings and book more shoots.
Ready to connect with top real estate agents and get booked for your photography services? Join PropPhoto today to create your free professional profile, showcase your portfolio, and keep 100% of your earnings. Sign up for free on PropPhoto and start growing your business.

