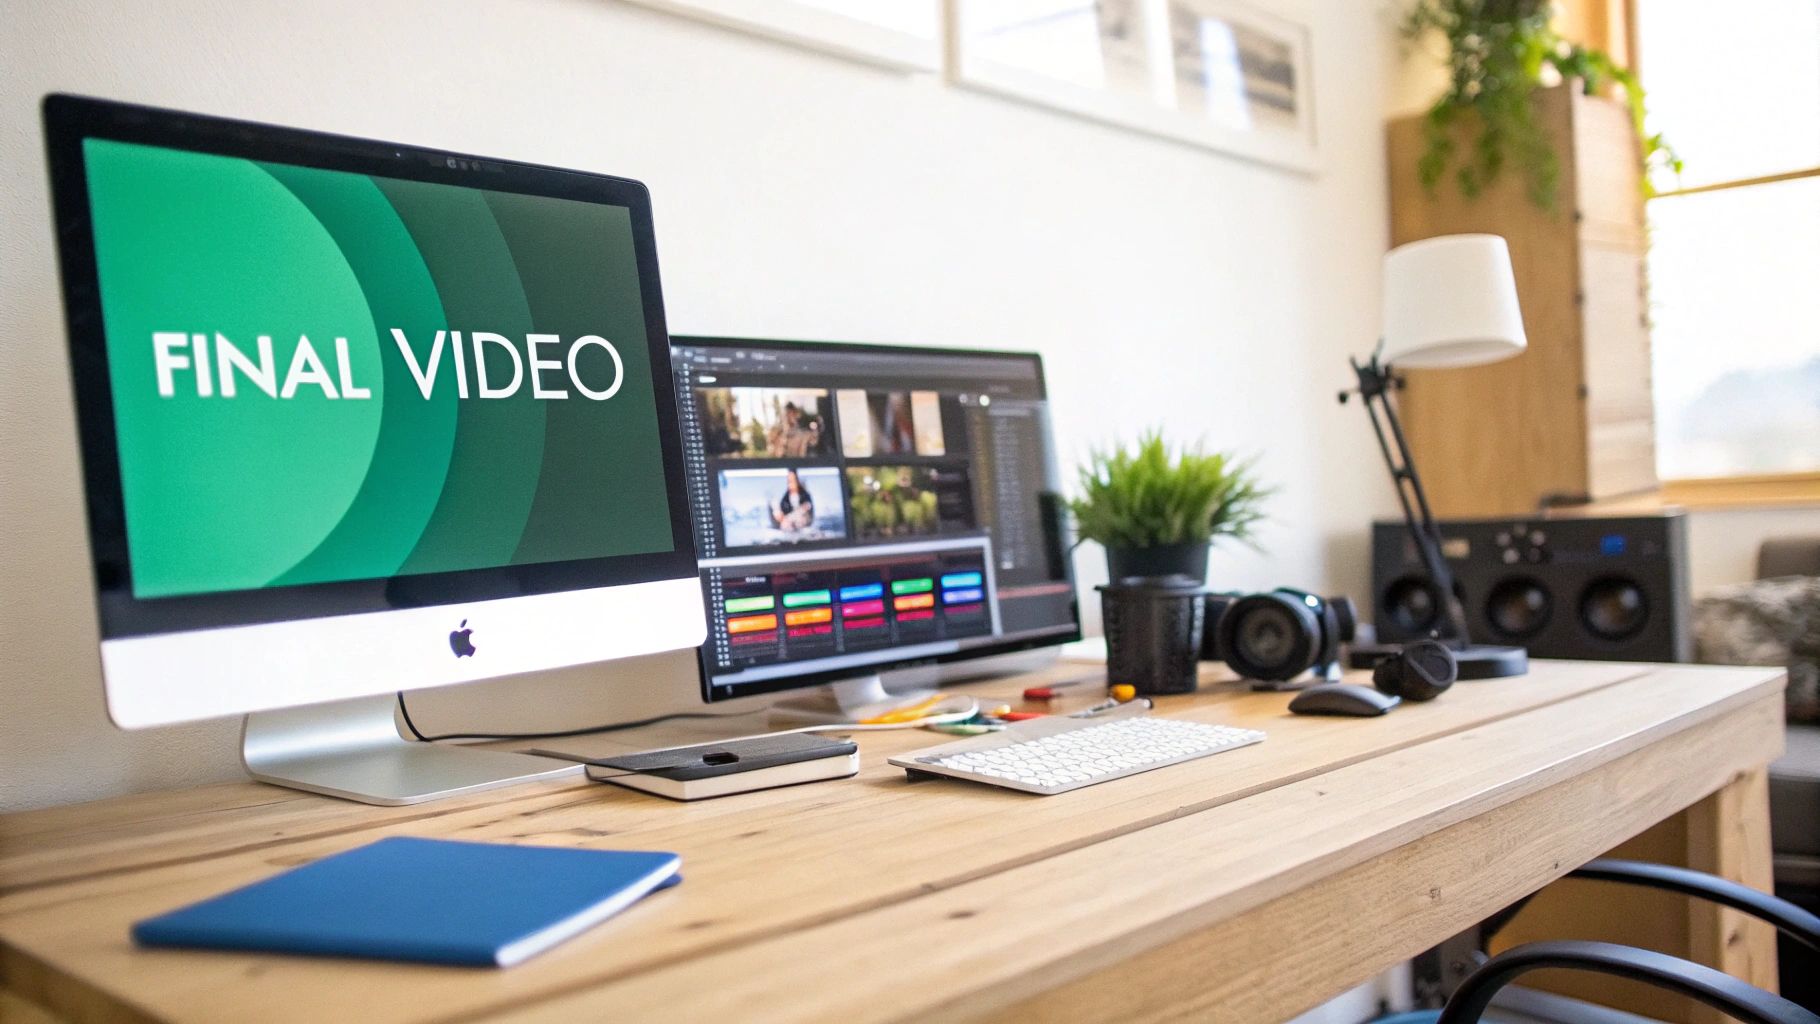
In a market flooded with static photos, a professional video can make a listing pop, generating a staggering 403% more inquiries. This isn't just some passing trend. It's a fundamental shift in how we sell homes, making real estate videography an essential tool for any agent serious about standing out.
Why Video Isn't Just an Option—It's a Necessity
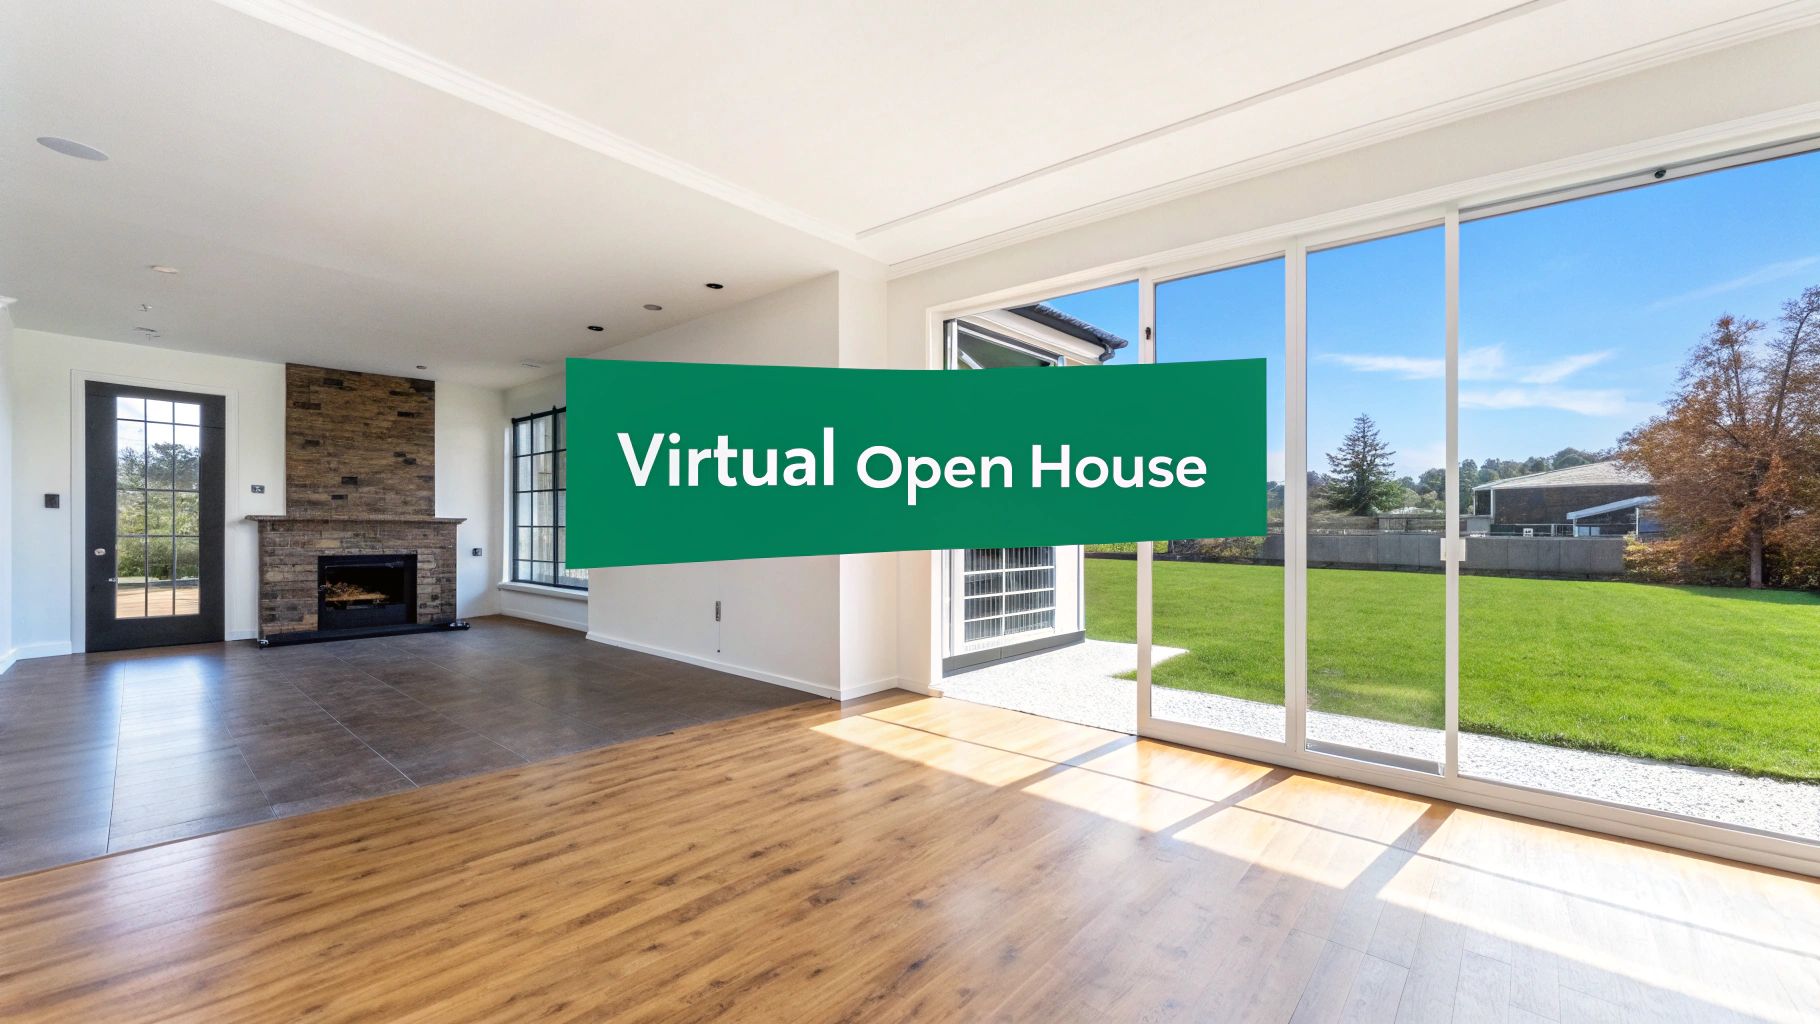
Remember the traditional open house? Buyers meander through rooms, getting a genuine feel for the space and picturing their life unfolding there. Now, imagine that same open house running 24/7, available to anyone, anywhere on the planet. That’s exactly what great real estate videography delivers. It breathes life into a flat, static listing, turning it into an experience.
Photographs capture a single moment in time, but video tells the whole story. It guides a potential buyer through the property, showing the seamless flow from the living room to the kitchen. It reveals how the morning sun pours into a bedroom or the true scale of the backyard. This kind of narrative forges an emotional connection that still images just can't match.
Build Trust and Attract Better Buyers
A well-crafted video does more than just show off a home—it showcases the agent's dedication to top-tier marketing. When buyers see a polished, cinematic tour, it instantly builds trust. It tells them they're dealing with a true professional. This high-quality presentation naturally weeds out casual browsers and attracts serious buyers who are much closer to making a decision.
The results speak for themselves. Listings featuring video don't just get more eyeballs; they also get to the closing table faster. Industry data reveals that properties marketed with video can sell up to 31% faster than those relying on photos alone. In any market, that's a huge competitive edge, helping agents turn over their inventory more quickly and efficiently.
For a potential buyer, a video tour is the next best thing to being there in person. It provides an authentic sense of the property's layout and ambiance, answering questions about space and flow before they even schedule a visit.
The Untapped Opportunity for Creators
Despite all these clear advantages, there's a surprising gap in the market. Believe it or not, only about 38% of real estate agents are currently using video in their marketing. This leaves the door wide open for photographers and videographers ready to step in with a high-demand, high-value service. You can dive deeper into the latest real estate video statistics to see just how agents are putting this powerful tool to work.
By mastering real estate videography, you can offer a service that helps agents:
- Make their listings stand out in a sea of sameness online.
- Generate more qualified leads, cutting down on wasted time.
- Elevate their personal brand as a modern, forward-thinking professional.
- Win more listings by showing sellers a superior marketing strategy.
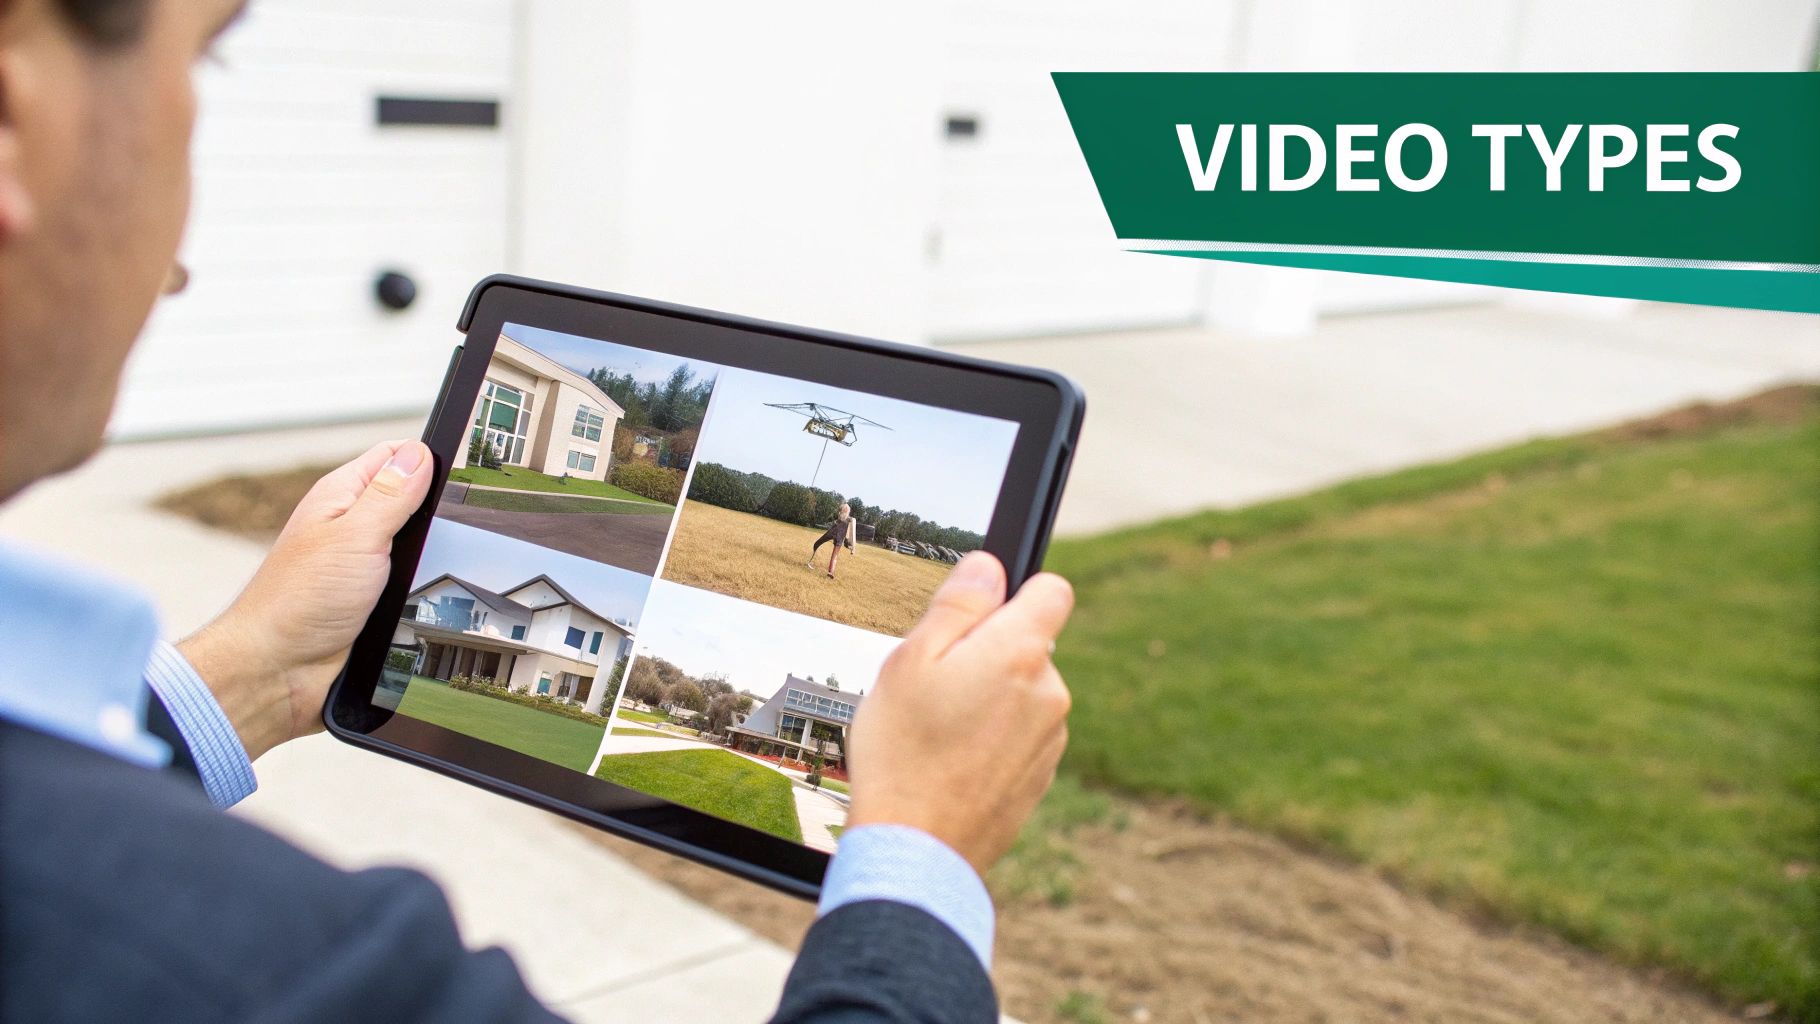
What Kinds of Real Estate Videos Should You Offer?
Not all real estate videos are cut from the same cloth. Just like a chef has different knives for different jobs, a savvy real estate videographer needs a whole menu of video styles. Each one tells a different story and serves a specific marketing goal.
When you move past a one-size-fits-all approach, you can truly meet your clients' needs and highlight what makes a property special.
Think about it this way: a simple walkthrough shows the layout, but a cinematic video sells a dream. By understanding the strategic purpose behind each type, you can package your services way more effectively and deliver results that genuinely connect with buyers.
The Cinematic Walkthrough
This is the crown jewel of real estate videography. A cinematic walkthrough isn’t just a tour; it's a short film. It uses slow, buttery-smooth camera movements, professional color grading, and a carefully chosen soundtrack to create a feeling—an emotion. The goal isn’t just to show off rooms; it's to sell a lifestyle.
This style is a must for luxury homes, properties with unique architectural details, or any listing where the agent wants to build a high-end, aspirational brand. You’re focusing on the beautiful little things, like the way sunlight streams across a countertop or the stunning view from a balcony, making buyers feel that emotional tug.
The Standard Video Tour
While it's less flashy than its cinematic big brother, the standard video tour is an absolute workhorse. Its primary job is clarity. It moves through the home in a logical, easy-to-follow sequence, clearly showing the layout, giving a sense of room size, and demonstrating how all the spaces flow together.
These videos are straightforward and incredibly informative, often shot at a normal walking speed. They’re perfect for typical single-family homes, apartments, or any property where potential buyers just need a solid understanding of the floor plan. It answers their practical questions and builds their confidence before they ever step through the front door.
Buyer expectations have totally shifted. A staggering 58% of buyers now want to see a video of a home they're interested in. Video walkthroughs actually boost buyer confidence by 28%, and get this—properties with professional videos generate 49% more qualified leads.
Drone and Aerial Videos
For some properties, the real story starts from the sky. Drone videography offers a breathtaking perspective that you simply can't get from the ground. It’s the ultimate tool for showcasing a property’s scale, its position in the landscape, and how close it is to key features like parks, lakes, or the city center.
- Show the Context: Is the home just a short walk from the beach or a golf course? Show them!
- Highlight the Land: Capture the full scope of a sprawling estate, a farm, or a huge backyard.
- Reveal the View: Display the stunning city skyline or mountain vistas that make the property one-of-a-kind.
Drone footage is an incredibly powerful add-on that can elevate any video package, making a listing feel grand and truly impressive. For a deeper dive, check out this guide on drone photography for real estate.
Agent Promotional Videos
Real estate videography isn't always about the house—sometimes, it's about the agent. Agent promo videos are all about building a personal brand and creating trust with potential clients. These are a few popular formats:
- Agent Intros: A short, authentic video where an agent shares their passion for real estate and their unique approach.
- Neighborhood Guides: Videos that highlight the best parts of a specific community, positioning the agent as the go-to local expert.
- Client Testimonials: Nothing beats social proof! Let happy clients share their positive experiences on camera.
These videos put a human face to the agent, making them more relatable and trustworthy than the competition. They're powerful assets for an agent’s website, social media, and email marketing.
To make it even clearer, here’s a quick breakdown of how these video types stack up against each other.
Comparing Real Estate Video Types and Their Purpose
| Video Type | Primary Purpose | Best For | Key Selling Point |
|---|---|---|---|
| Cinematic Walkthrough | Evoke emotion, sell a lifestyle | Luxury listings, unique architecture | Creates an aspirational, high-end brand image. |
| Standard Video Tour | Provide clarity, show the layout | Standard residential homes, apartments | Gives buyers a practical, easy-to-understand floor plan. |
| Drone & Aerial Video | Showcase scale, location, and context | Properties with large lots, great views, or key amenities | Makes the property feel grand and impressive. |
| Agent Promotional | Build brand trust, establish expertise | Agents looking to grow their business | Humanizes the agent and positions them as an authority. |
Ultimately, knowing which video to pitch for which situation is what separates the pros from the amateurs. Matching the right style to the property and the agent's goals is the key to creating videos that don't just get views—they get results.
Choosing the Right Gear for Professional Results
Getting into real estate videography doesn’t mean you need a Hollywood-sized budget for equipment. The "right" gear is simply what lets you capture smooth, stable, and wide footage that does the property justice. It's all about making smart investments that deliver a polished look without getting bogged down by overly complex or expensive tools.
Think of your setup as a three-legged stool: the camera captures the image, the lens frames the view, and the stabilizer keeps it all steady. When these three pieces work together in harmony, you create an immersive experience for the viewer. Nailing this combination is the foundation of any great property video.
Your Camera: The Heart of Your Setup
Your camera is where it all starts, but thankfully, you don't need the most expensive one on the shelf. Most modern mirrorless and DSLR cameras are more than capable of producing incredible video. The main things you're looking for are 4K resolution, full manual controls, and solid low-light performance—since you’ll often be shooting interiors without a big lighting kit.
Here’s a quick rundown of your options:
- Good (Entry-Level): Cameras like the Sony a6400 or Canon M50 Mark II are fantastic starting points. They’re compact, shoot great 4K video, and have access to tons of lenses. Perfect for getting your feet wet.
- Better (Mid-Range): Stepping up to a model like the Sony a7 IV or Canon R6 Mark II gets you a full-frame sensor. This generally means better image quality, especially in dim rooms, and gives you that beautiful, cinematic look with a soft, out-of-focus background.
- Best (Professional): High-end cinema cameras like the Sony FX3 or Canon C70 are built for one thing: video. They offer advanced features like professional audio inputs and incredible dynamic range. While they're often overkill for a standard property tour, they're the right call for luxury listings where the client expects a truly high-end, cinematic film.
Many of the principles for great photos apply to video, so you can find more detailed comparisons in our guide to the best cameras for real estate photography.
Lenses and Stabilizers: Capturing the View
Your choice of lens is arguably even more important than your camera. For real estate, you absolutely need a wide-angle lens to show off a room's full size without making it look warped or distorted. The sweet spot is a focal length somewhere between 16mm and 24mm (on a full-frame camera), which makes spaces feel open and inviting.
Just as critical is your stabilizer. Nothing screams "amateur" faster than shaky, handheld footage. A 3-axis motorized gimbal is the one tool you can't skip. It's what creates those smooth, gliding movements that look so professional. The gimbal uses motors to counteract your body’s natural movements, resulting in buttery-smooth shots.
A wide-angle lens shows the space, but a gimbal sells the experience. It transforms a simple walk-through into a cinematic journey, guiding the viewer's eye and creating a sense of effortless flow from one room to the next.
Mastering Your Camera Settings
Owning the right gear is only half the job. Knowing how to set it up is what separates the pros from the beginners. Dialing in the right settings from the start ensures your video looks polished and cinematic right out of the camera.
First thing's first: switch your camera to its manual video mode. This gives you total control.
Here are the core settings you need to master:
Frame Rate (24fps): For that classic, film-like motion that just feels right, always shoot in 24 frames per second (fps). This is the movie industry standard for a reason—it looks natural and professional, not jarring like higher frame rates can.
Shutter Speed (The 180-Degree Rule): This is a golden rule in videography. Your shutter speed should always be double your frame rate. So, for 24fps footage, your shutter speed needs to be 1/50th of a second. This simple trick creates a natural-looking motion blur that’s pleasing to the eye.
Picture Profile (Log or Neutral): Don't shoot in the standard, high-contrast video mode. Instead, select a "flat" or "neutral" picture profile. On many cameras, this is called Log. It looks washed out on the back of the camera, but it captures the maximum amount of detail in the bright highlights and dark shadows. This gives you incredible flexibility later on to color correct and grade the footage for a vibrant, perfect final look.
How to Film a Property from Start to Finish
You've got the gear and your settings are dialed in. Now for the fun part: the on-site shoot where your technical know-how and creative eye come together. Filming a property is so much more than just hitting record and walking through rooms. It’s about telling a visual story, guiding a potential buyer through the space, and making them feel like they're actually there.
This process is a mix of careful planning and smooth, deliberate execution. Get it right, and the final video will feel both professional and incredibly inviting.
The absolute foundation of a great shoot is a solid plan. Before you even think about recording, do a full walkthrough of the property and map out a shot list. This isn't just a checklist; it's your narrative blueprint. Think about the flow. What's the most logical path someone would take through the home? You'll almost always start at the front door and move seamlessly from one space to the next.
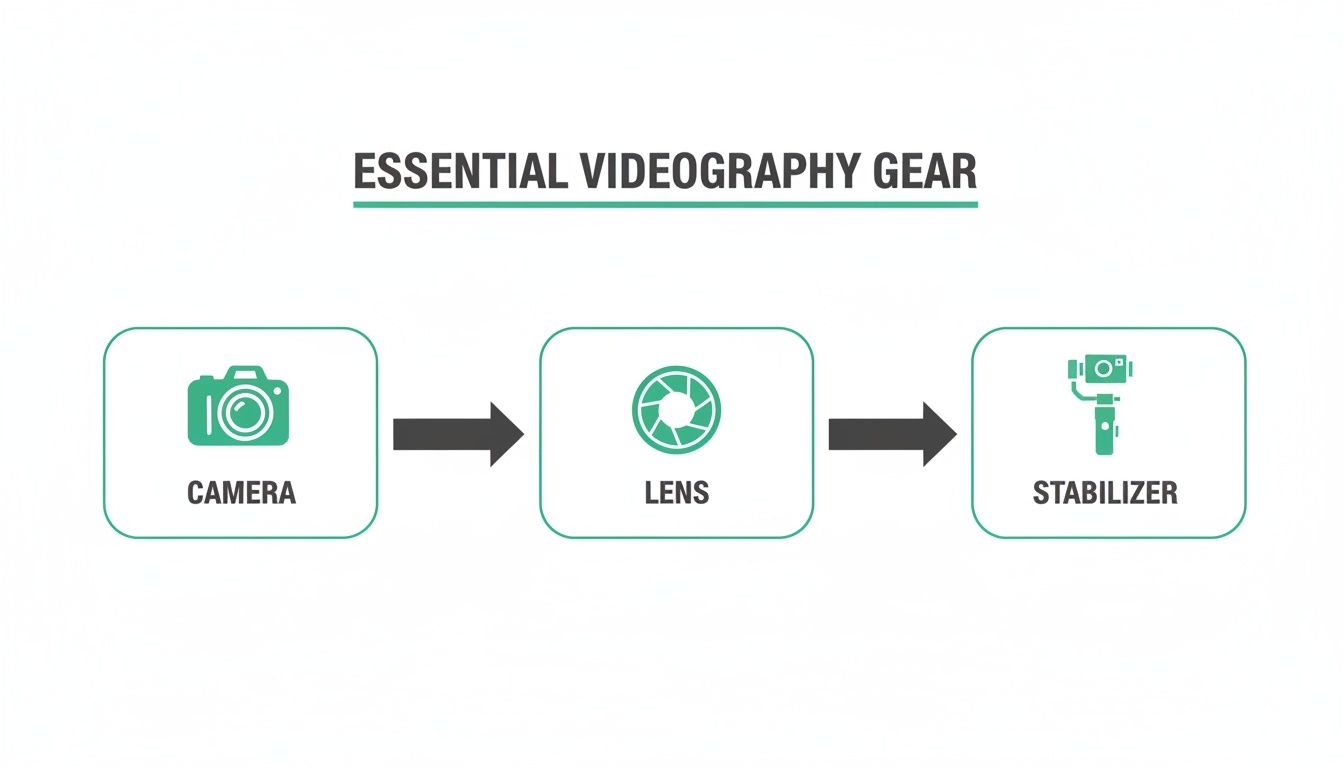
As this infographic shows, your camera, lens, and gimbal are a team. Each one plays a critical role, and the final video is only as strong as its weakest link.
Mastering Your Camera Movements
If there's one secret ingredient in high-quality real estate videography, it's smooth, intentional camera movement. This is what transforms a static scene into a dynamic experience and gives your video that captivating, cinematic feel. Rushing through the property or making jerky, unsteady movements is the fastest way to make a video look amateur.
The goal is to be slow, steady, and purposeful. You want to feel like you're floating through the space.
Here are the four essential gimbal movements you need to master:
- Push-In: Slowly and smoothly move the camera forward toward a key feature—a cozy fireplace, a stunning kitchen backsplash, or a beautiful window view. This movement draws the viewer's focus and creates a feeling of intimacy.
- Pull-Out: Start with a close-up on a small detail, like a unique light fixture or a high-end faucet, and slowly move backward to reveal the entire room. This is a classic technique for establishing context and showing off the scale of a space.
- Slide (or Trucking): Move the camera horizontally, either left-to-right or right-to-left, while keeping it aimed straight ahead. This is perfect for showcasing long countertops in a kitchen, a wall of windows in a living room, or the full length of a hallway.
- Orbit: Circle slowly around a central object, like a kitchen island or a dining room table. This gives a 360-degree perspective of a hero feature and adds a really sophisticated, polished flair to your video.
The key to professional-looking camera work is consistency. Keep your pace steady and your camera height constant—usually around chest or eye level—for all of your shots. This creates a seamless, immersive experience for the viewer and avoids any jarring or disorienting transitions.
Composition and Lighting on Location
Beyond just moving the camera, how you frame your shots is crucial. Don't just point and shoot. You're composing a scene to be as visually appealing as possible.
Look for architectural elements you can use. Doorways and archways make for fantastic natural frames within your shot. Long hallways and sightlines create powerful leading lines that pull the viewer’s eye deeper into the home, making them want to see what's next.
Lighting, of course, is a massive factor. Always try to shoot during the day to take full advantage of natural light. The first thing you should do on site is open every blind and curtain to let in as much sun as possible. This makes rooms feel bright, airy, and much larger.
Then, turn on every single light inside the house. Yes, every lamp, overhead light, and even the under-cabinet lighting. This layering of light creates a warm, welcoming atmosphere that feels like home. A quick tip: avoid filming directly into bright windows. This will often trick your camera into making the rest of the room look dark and underexposed. Instead, position yourself so that the window light is illuminating the space you're filming.
Editing and Delivering Your Final Video
The shoot might be over, but the real work—the part where the magic happens—is just getting started in the edit bay. Post-production is where you take all those raw, individual clips and weave them together into a compelling story that makes a buyer feel like they're already home. A solid, repeatable editing workflow isn't just a nice-to-have; it's your secret weapon for turning around incredible videos, fast.
Think of your raw footage as a jumble of puzzle pieces dumped on a table. The first step is always organization. I can't stress this enough: create a clean folder structure for every single project. Separate your video clips, your audio files, any graphics, and the final project file. This one simple habit will save you from a world of pain and hours of searching later on.
With everything neatly sorted, it's time to sift through your footage and pick the absolute best takes. Be ruthless. You're looking for the smoothest gimbal movements, the most perfectly framed shots, and the clips that just feel right. One slightly shaky clip can bring down the perceived quality of the entire video, so don't be afraid to leave some footage on the cutting room floor.
Building Your Video's Narrative
Now comes the fun part: storytelling. With your A-list clips selected, you get to assemble the tour. The sequence should feel intuitive, guiding the viewer on a logical path through the home. I almost always start with a breathtaking exterior shot to set the scene, then move through the front door, and flow naturally from the living room to the kitchen, into the bedrooms, and finally out to the backyard.
Choosing the music is probably the most important creative decision you'll make in the entire edit. The right track sets the entire tone. For most homes, you'll want something upbeat, positive, and inspiring without being distracting. Instrumental tracks are your best bet 99% of the time; lyrics can compete with the visuals for the viewer's attention.
Once you lay your clips down on the timeline and start timing your cuts to the rhythm of the music, you can sprinkle in the branding. A clean, tasteful intro with the property address and the agent's logo is standard practice. A simple outro card with contact info gives viewers a clear next step.
Your job in the edit isn't just to show rooms. It's to control the pace and create an emotional journey. A well-timed cut that lands on the beat as the music swells can make a simple living room feel absolutely magnificent.
Polishing with Color and Sound
Next up is the technical polish. Color correction is about fixing things—making sure the exposure is consistent from clip to clip and the white balance looks natural. It’s the foundation. After that comes color grading, which is all about creativity. This is where you apply a signature "look" to enhance the mood. A warm, slightly saturated grade can make a home feel incredibly cozy and inviting.
And don't overlook sound design! Even if you're only using a music track, adding subtle ambient sounds can make a world of difference. The quiet chirp of birds on an exterior shot or the gentle crackle of a fireplace can make the scene feel much more immersive. Of course, make sure your music levels are mixed properly and that it fades out smoothly at the end. For a much deeper dive into the editing process, check out our complete guide on video editing for real estate.
Exporting and Delivering the Final Product
You've done the hard work, and now it's time to share it with the world. The final step is exporting your masterpiece with the correct settings for every platform it will live on. A high-resolution file for YouTube or Zillow is totally different from what you need for a vertical Instagram Reel. You have to optimize for each destination to ensure your video looks crisp and professional everywhere.
This table is a great starting point for dialing in your export settings. It covers the most common places your real estate videos will end up.
Recommended Video Export Settings for Online Platforms
| Platform | Recommended Resolution | Recommended Bitrate | File Format |
|---|---|---|---|
| Zillow / MLS | 1920x1080 (1080p) | 8-10 Mbps | MP4 |
| YouTube | 3840x2160 (4K) | 35-45 Mbps (for SDR) | MP4 |
| Instagram / Facebook | 1080x1920 (Vertical) | 6-8 Mbps | MP4 |
| TikTok | 1080x1920 (Vertical) | 10-15 Mbps | MP4 |
Keep in mind these are solid guidelines, but always double-check the platform's latest recommendations as they can change.
Finally, deliver the video files to your client professionally. Using a service like Dropbox or a dedicated gallery delivery platform is far better than a massive email attachment. It preserves the quality of your work and provides a much better client experience. Mastering this final stage ensures the incredible video you created makes the biggest impact possible.
How to Price Your Videography Services
Let's talk money. Turning your passion for video into a real business hinges on getting your pricing right. This isn't just about pulling a number out of thin air; it’s about strategically calculating your worth, understanding your costs, and presenting your services in a way that feels like a no-brainer for your clients.
Pricing is what keeps the lights on. It covers your expensive gear, software subscriptions, insurance, and gas money, but more importantly, it ensures you’re building a sustainable career. The biggest mistake you can make is undercharging just to land a gig. That’s a race to the bottom that hurts not only you but everyone else in the industry.
Common Pricing Models
There’s no one-size-fits-all formula here, but most of us in the field land on one of three main approaches. The best one really depends on the project, the client, and what feels right for your business.
- Flat-Fee Packages: This is, by far, the most popular way to go. You create a few clear tiers (think Basic, Pro, Luxury) that bundle specific services like video length, drone shots, or social media edits for one set price. Real estate agents absolutely love this because there are no surprises.
- Per Square Foot: Some pros charge based on the size of the house. It makes perfect sense—a sprawling 5,000-square-foot mansion is a lot more work to shoot and edit than a cozy 1,200-square-foot bungalow.
- Hourly or Day Rate: This is less common for your standard listing but is perfect for custom jobs. Think big commercial properties, multi-day shoots, or when an agent wants you on retainer for a bunch of different marketing tasks.
Whichever path you take, make sure it’s built on a solid understanding of your business costs and what you need to make to turn a healthy profit.
The national average cost for a professional real estate video hovers around $530 for a simple one-minute walkthrough. Of course, that can swing from $200 for a bare-bones package all the way up to several thousand dollars for a full-blown cinematic production on a luxury estate.
Building Tiered Packages to Increase Sales
One of the smartest things you can do is bundle your video services into tiered packages, especially if you also offer photography. This makes the decision-making process incredibly simple for agents and is a fantastic way to boost your average invoice. It’s like creating a menu—you’re guiding them to the best options.
Here’s a simple three-tier structure that works wonders:
- Starter Package: This is your foot-in-the-door offer. It covers the essentials: a clean 60-90 second video tour and a set of professional photos.
- Pro Package: This is usually the sweet spot and the most popular choice. It includes everything from the starter package but adds in those epic drone video shots and a 30-second vertical clip perfectly formatted for Instagram or TikTok.
- Luxury Package: This is the whole shebang. You take the pro package and add a longer, more emotional cinematic video, stunning twilight photos, and maybe even an on-camera agent intro.
This kind of setup empowers agents to choose what works for their listing and budget. It naturally nudges them toward higher-value options without you having to do any hard selling, positioning you as a marketing partner, not just another vendor.
Frequently Asked Questions in Real Estate Video
Even seasoned pros had questions when they first started. Let's tackle some of the most common ones that pop up in real estate videography. Getting these cleared up from the start saves everyone a headache and makes sure you and your clients are on the same page.
How Long Should a Real Estate Video Be?
For the main property tour—the one going on Zillow or the MLS—aim for two to three minutes. That’s the sweet spot. It's just long enough to give a complete feel for the home without dragging on and losing the viewer's interest.
Social media is a completely different beast. For platforms like Instagram, Facebook, or TikTok, you’ll want to create punchy, engaging clips that are only 30 to 60 seconds long. Think of these as a movie trailer for the house, designed to grab attention and get people to click through to the full tour.
Do I Need a Drone License for Real Estate?
Yes. 100%. If you're flying a drone for any kind of business—and that includes paid real estate shoots—you are legally required to have an FAA Part 107 license in the United States. It doesn't matter if it's a quick 30-second shot or a full aerial tour.
Flying a drone for commercial work without a Part 107 license is illegal. It's not just a slap on the wrist; you could face serious fines. Getting certified is the first, non-negotiable step to offering professional, insured aerial services. Don't skip it.
What’s the Most Important Piece of Gear for Smooth Video?
A good camera is a given, but the real game-changer for professional-looking real estate video is a 3-axis motorized gimbal. This is the one tool that separates shaky, amateur footage from the smooth, gliding shots you see in high-end listings.
A gimbal is what allows you to walk through a home while your camera seemingly floats through the air. It works by stabilizing the camera on every axis—pan, tilt, and roll—to absorb all your little bumps and hand movements. Trust me, it’s the single best investment you can make to elevate your video quality from decent to cinematic. Your clients will notice the difference immediately.
Ready to connect with top-tier real estate agents actively looking for professional videographers? Join PropPhoto to build your profile, showcase your portfolio, and get booked directly for local jobs. Find your next project and grow your business today by visiting propphoto.com.

